Tips for Installing Metal Roofing on a Shed
Installing metal roofing on a shed can be a rewarding DIY project that offers durability and a sleek look. In this guide, we’ll walk you through the process, providing helpful tips and instructions to ensure a successful installation. If you’re in the St. Louis area, metal roofing experts can also offer valuable insights and support.
Why Metal Roofing Is a Great Choice for Sheds
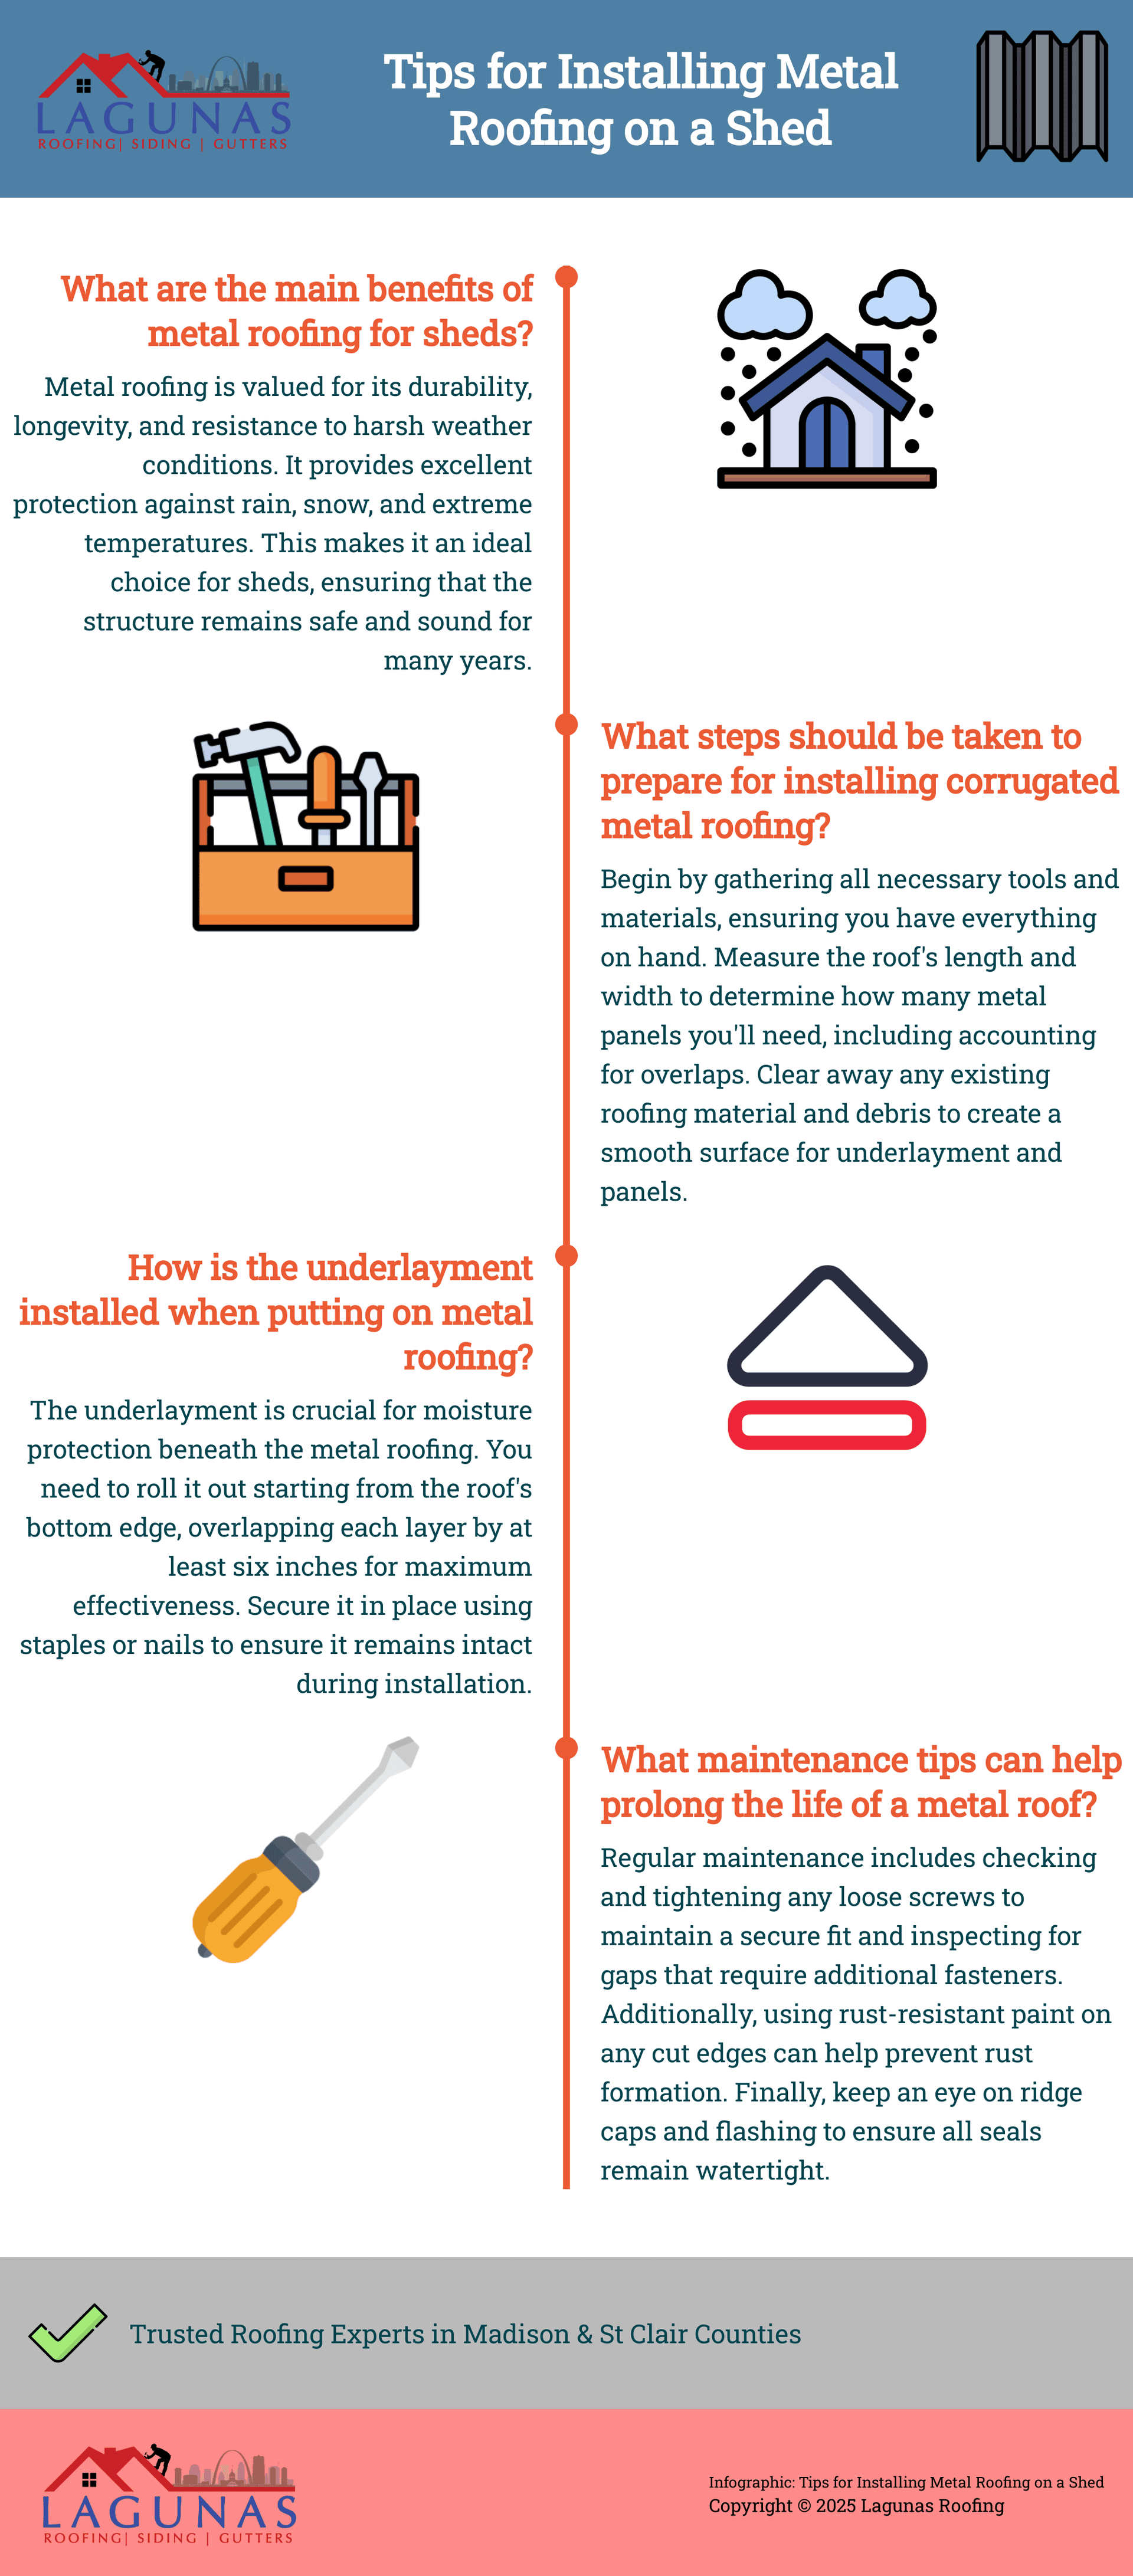
Metal roofing is known for its durability, longevity, and resistance to unfavorable weather conditions. It’s particularly beneficial for sheds, offering protection against rain, snow, and extreme temperatures. Corrugated metal roofing is a popular option because of its strength and ease of installation.
How to Install Corrugated Metal Roofing on a Shed
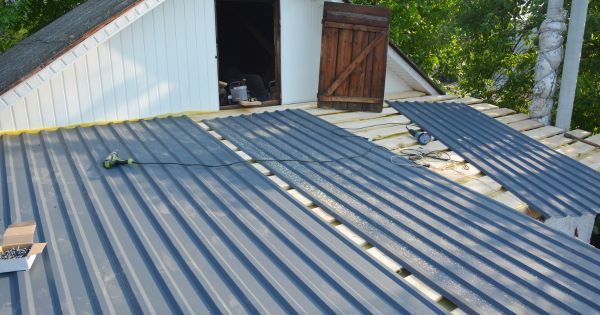
Installing corrugated metal roofing involves several key steps. Below, we’ll guide you through each step, from preparation to finishing touches.
Step 1: Gathering Necessary Tools and Materials
Before you start, gather all the necessary tools and materials. You’ll need:
- Corrugated metal panels
- Roofing underlayment
- Screws with rubber washers
- Metal snips or a saw
- Measuring tape
- Drill
- Safety gear (gloves, goggles, and a helmet)
Step 2: Measuring and Planning
Measure the length and width of your shed’s roof to determine the number of metal panels needed. You should account for overhangs and overlaps between panels.
Step 3: Planning the Layout of the Metal Panels
Plan the layout of your metal panels, starting from the bottom edge of the roof and working upwards. This method ensures that water flows over the seams, reducing the risk of leaks.
Step 4: Removing Old Roofing
Carefully remove the existing roofing material, whether it’s shingles or another type. Use a pry bar to lift old nails and dispose of debris safely.
Step 5: Preparing the Roof Surface for Metal Installation
Make sure the roof surface is clean and free of any remaining nails or debris. You will need a smooth surface for proper underlayment and panel installation.
Step 6: Installing Underlayment
Roofing underlayment provides an extra layer of protection against moisture. It’s especially important under metal roofing to prevent condensation issues.
Roll out the underlayment, starting at the bottom edge of the roof and working your way up. Overlap each layer by at least 6 inches and secure it with staples or nails.
Step 7: Installing Metal Panels
Here are the steps for proper installation of metal panels:
- Align the First Panel: Start at the bottom edge, ensuring the panel is square with the roof edge.
- Secure the Panel: Use screws with rubber washers to fasten the panel to the roof, placing screws in the ridges. Use a chalk line to keep screws in straight rows for a neat finish.
- Overlap Panels: Each subsequent panel should overlap the previous one by at least one ridge.
- Cut Panels to Fit: Use metal snips or a saw for any necessary cuts around roof features.
Step 8: Adding Ridge Caps and Flashing
Ridge caps and flashing are needed for sealing the roof’s edges and preventing leaks. Install ridge caps along the roof’s peak and the flashing around any openings in the roof.
Make sure that there’s proper ventilation by leaving gaps at the ridge and eaves. Use sealant around the flashing to prevent water seepage.
Step 9: Securing the Edges
Secure the edges with trim pieces to prevent wind lift. Use screws and sealant to ensure a tight, weather-resistant fit.
Install edge flashing to protect against wind and water. Regularly check and tighten any loose screws to maintain the roof’s integrity.
Step 10: Finishing Touches
Inspect the entire roof to ensure all screws are tight and panels are secure. Look for any gaps or areas that need additional fasteners.
Use rust-resistant paint on any cut edges or exposed metal to prevent rust and extend the life of your roof.
If you're unsure about the process, hiring a
roofing contractor in St. Louis can ensure a professional and durable installation.
Regular Maintenance Practices to Prolong the Life of Your Metal Roof
- Regular Inspections:
Regularly inspect the roof at least twice a year for signs of wear, damage, or rust, and pay special attention to edges, seams, and fasteners. - Cleaning Debris:
Clean off debris such as leaves and branches, and make sure that gutters and downspouts are clear using a soft broom or blower to avoid scratching the metal. - Checking for Loose Screws:
Check for loose or missing screws, tighten or replace them as needed, and use screws with rubber washers to maintain a weather-tight seal. - Inspecting Seams and Flashing:
Examine seams and flashing for gaps or deterioration, apply sealant where needed, and make sure ridge caps and flashing are securely fastened. - Tackling Rust and Corrosion:
Treat rust spots with a rust converter, touch up with rust-resistant paint, and replace any severely corroded fasteners. - Maintaining Proper Ventilation:
Make sure ventilation systems are working correctly, check vents and ridge caps for obstructions or damage, and maintain proper ventilation to prevent condensation. - Monitoring for Leaks:
Tackle minor repairs as soon as possible to prevent major problems, keeping extra panels, screws, and sealant on hand for quick fixes.
How to Handle Minor Repairs and Prevent Future Issues
To prevent future issues, you should take these tips into account:
- Tackle Minor Issues on Time:
Fix small problems as soon as they arise to prevent them from becoming major issues.
- Keep Spare Materials Handy: Keep a few extra metal panels and screws on hand for quick and efficient repairs.
Read About - How to Cut Metal Roofing for a Perfect Fit
Contact Lagunas Roofing for Professional Metal Roofing Installation
If you cannot carry out this task on your own, you should call in the pros! For professional assistance or if you have any questions, contact
Lagunas Roofing for expert advice and services. Call us at (618) 300-5661 or
reach us through the online form on our website.
